Our Awning Hack - Must Have

*** 08/26/2020 This post has been updated to reflect the best products we have tested to date***
Awnings have a ton of practical uses, including protection from the elements, keeping your van cooler in the hot sun, and increasing the size of your home - both literally and psychologically. The trouble with them though is that they tend to be really expensive and generally lack the ability to be customized or modified in any way. Because of this, we decided to go with a very customizable DIY awning system that only runs about $150-.

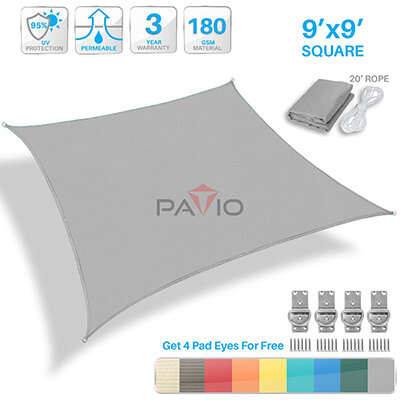
Our sunshade blocks up to 90% of the suns rays
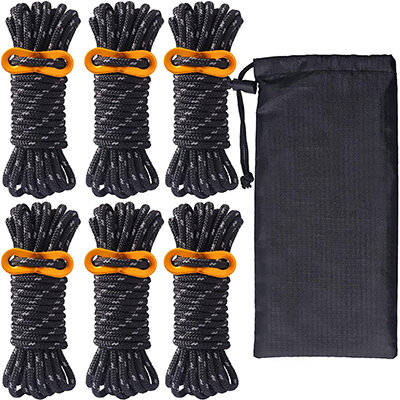
The system is composed of off the shelf parts that easily attach together in a fast, safe, and extremely functional way. The kit is composed of:
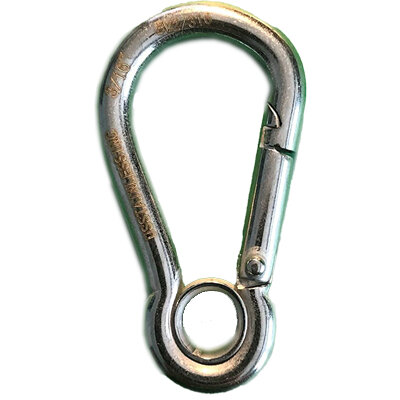
Eye Bolt - available at any hardware store
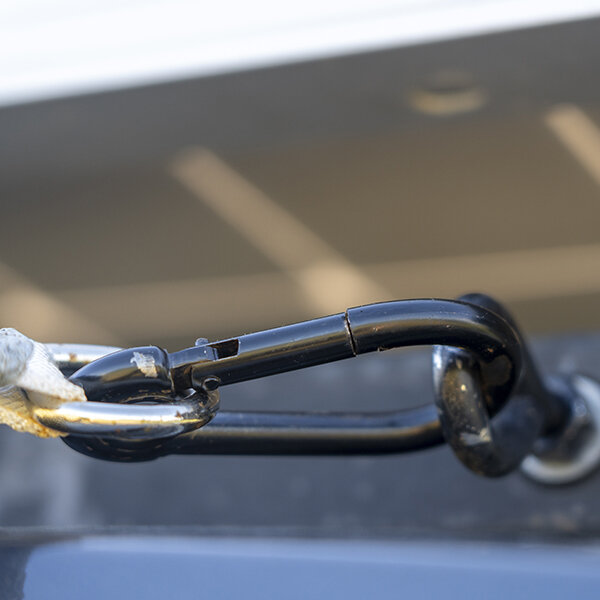
The sunshade uses a carabiner to attach to our roof rack eyebolt
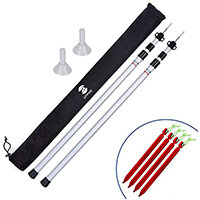
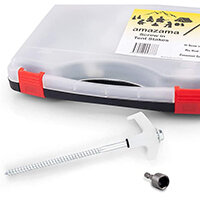
The awning system is pretty fool-proof. We attach the carabiners to the 4 corners of our 9’ x9’ sunshade. Then two corners are attached to the eyelet bolts on our roof rack (See how we get on the roof!). On the opposite side of the sunshade, the carabiner is slid onto the top of the telescoping pole (we are now using SaphiRose Tarp poles for their additional strength). After that, the reflective (don’t trip on them at night!) guy lines are placed ON TOP of the carabiner, so that the sunshade can not blow off the pole, as the tension of the lines will keep the carabiner in place. Lastly, the guy lines are secured to the stakes that have been placed in the ground. We have upgraded to azazama tent stakes and we could not be happier. They utilize a hex head threaded bolt that allows you to use your drill or impact driver to place and remove them from the ground. We will NEVER hand screw a tent stake again! We also love the glow in the dark tops that help us avoid or locate the stakes at night.

Detail of guy lines holding down the shade on tent pole

Tent stakes anchoring guy lines
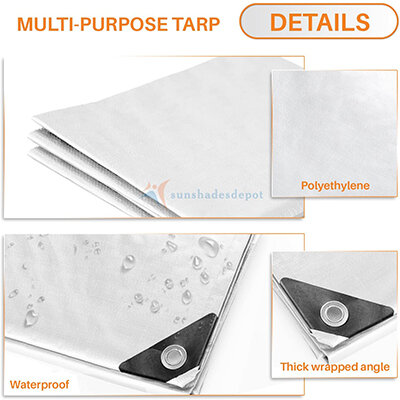
Why we love it: This set up serves the same purpose as a traditional RV awning but is a fraction of the cost. The sunshade does a great job of adding to our “private space” and keeping us and the van cooler in sunny weather. We can extend or shorten the telescoping poles to adjust the shade to how high the sun is in the sky. Lastly, this system is so flexible, we also purchased a 9’x12’ waterproof tarp that we use when the weather is gross., giving us great protection from the wind as well as rain.

Our sunshade is also our outdoor movie screen!
Things to keep in mind: While the awning is easy to set up in under 10 minutes, wind and soil conditions can make things more challenging. Sometimes our stakes will hit a rock and finding a rock-free location can be a bit of guess work. The stakes aren’t fabulous in sandy or very loose soil conditions. When it’s windy - putting up the awning is a 2-person job. Those sunshades sure like to fly in the wind! If it’s really windy, we advise against using an awning at all, as strong winds will wreak havoc on your setup. and we advise against ever using a tarp in wind conditions over 10mph (our sun shade has been fine in wind over 20 mph, but you should err on the side of safety always).
The take-away: If you’re looking for a cost-effective awning, then getting a system like this is a must! The concept is flexible and expandable. Adding different types of shades gives you various types of protection in any weather and the system can easily incorporate additional sunshades with the purchase of an extra set of telescoping poles. We’re keeping it cool, kicked back in the shade and we hope you are too!

Takes 9 minutes to install
CLICK ON THE IMAGE BELOW FOR MORE INFO AND PRICING